Thursday, 24 November 2011

Pre Production - DM Studio Photos

The following is a series of images documenting the layout of the DM Studios recording space which I intend to use to record my project. (the quality of these pictures is not brilliant, I will be taking more on the day of recording).


This is an image of the desk in the live room, which will not be used for recording but may be used as a means of foldback monitoring via headphones, to allow the band members to hear everything clearly without adding further noise to any of the signals.


The drumkit and rise in the live room, which will be used if I am unable to attain a better one.


The wall box which feeds to the studio, with 16 inputs and 4 outputs.


1 of 3 guitar amps available in the room, at least 1 of which will be used for recording.


The bass amp, which is unlikely to be used but is in the location which the actual bass amp is likely to be placed.


an alternative guitar amp.


an alternative guitar amp.


The studio recording desk.


The studio monitors. (above and below)


Pre Production - Basic recording session

For Pre Production, I decided to carry out preliminary and simplified versions of the recording session I intend to carry out for my actual honours project, which will be handed in as test recordings and mixes, which will be used to advise things such as my floor plans, equipment list and the carrying out of my main recording session.


This image shows how the microphone was placed in relation to the amp. The microphone is an SM57 placed around 2-3 inches from the speaker. This was then fed directly into and m-box 2 sound card, plugged into a Macbook running ProTools 8.

 The distance which is was placed from the amp is roughly correct, however for the actual recording session, the mic will be placed in more direct relation to one of the 4 speakers within the cabinet. Also, an additional, condensor type microphone (preferably a 414) will also be used to record the amp, though placed slightly further away in order to capture a slightly different tonality from the amp, and generally thicken up the sound of the guitar. This could not be done today due to the capacity of the recording device and also the last minute nature of the booking of this recording session did not leave us enough time to book out microphones.


This image (poorly) shows the D.I. being taken from the bass amp head via an XLR cable (the long red one). This was then fed directly into and m-box 2 sound card, plugged into a Macbook running ProTools 8.

In addition to this, for the actual recording session, I will also be using a dynamic, cardioid microphone with a large diaphragm, such as a shure beta 52a, in order to capture the actual sound heard from the amp within the room. Also, this will give me more options when I come to mix the tracks, and provide a warmer tone produced through the amp which will not be present in the D.I. signal.


This is the fore-mentioned Macbook with ProTools running used to record both Bass and Guitar. 


This image shows the basic drum mic set up used to capture the drum sound. This was comprised of a Shure SM58 used as a spot mic on the snare drum, a Shure beta 52a (or similar) placed inside the kick drum and a pencil, condensor type microphone used as an overhead.

For my actual recording session, I will also be placing spot microphones on the rack tom, the floor tom and the high hat stands. I will also be using a stereo pair of condensor microphones as room mics to provide a fuller drum sound, and if possible these microphones will be of a better quality and will have larger diaphragms, allowing them to pick up a fuller range of frequencies.


The fore-mentioned drum mics were ran into this desk, allowing us to set relative levels before taking these signals at the stereo output and running it into another m-box 2 sound card linked to a laptop running pro tools 8.


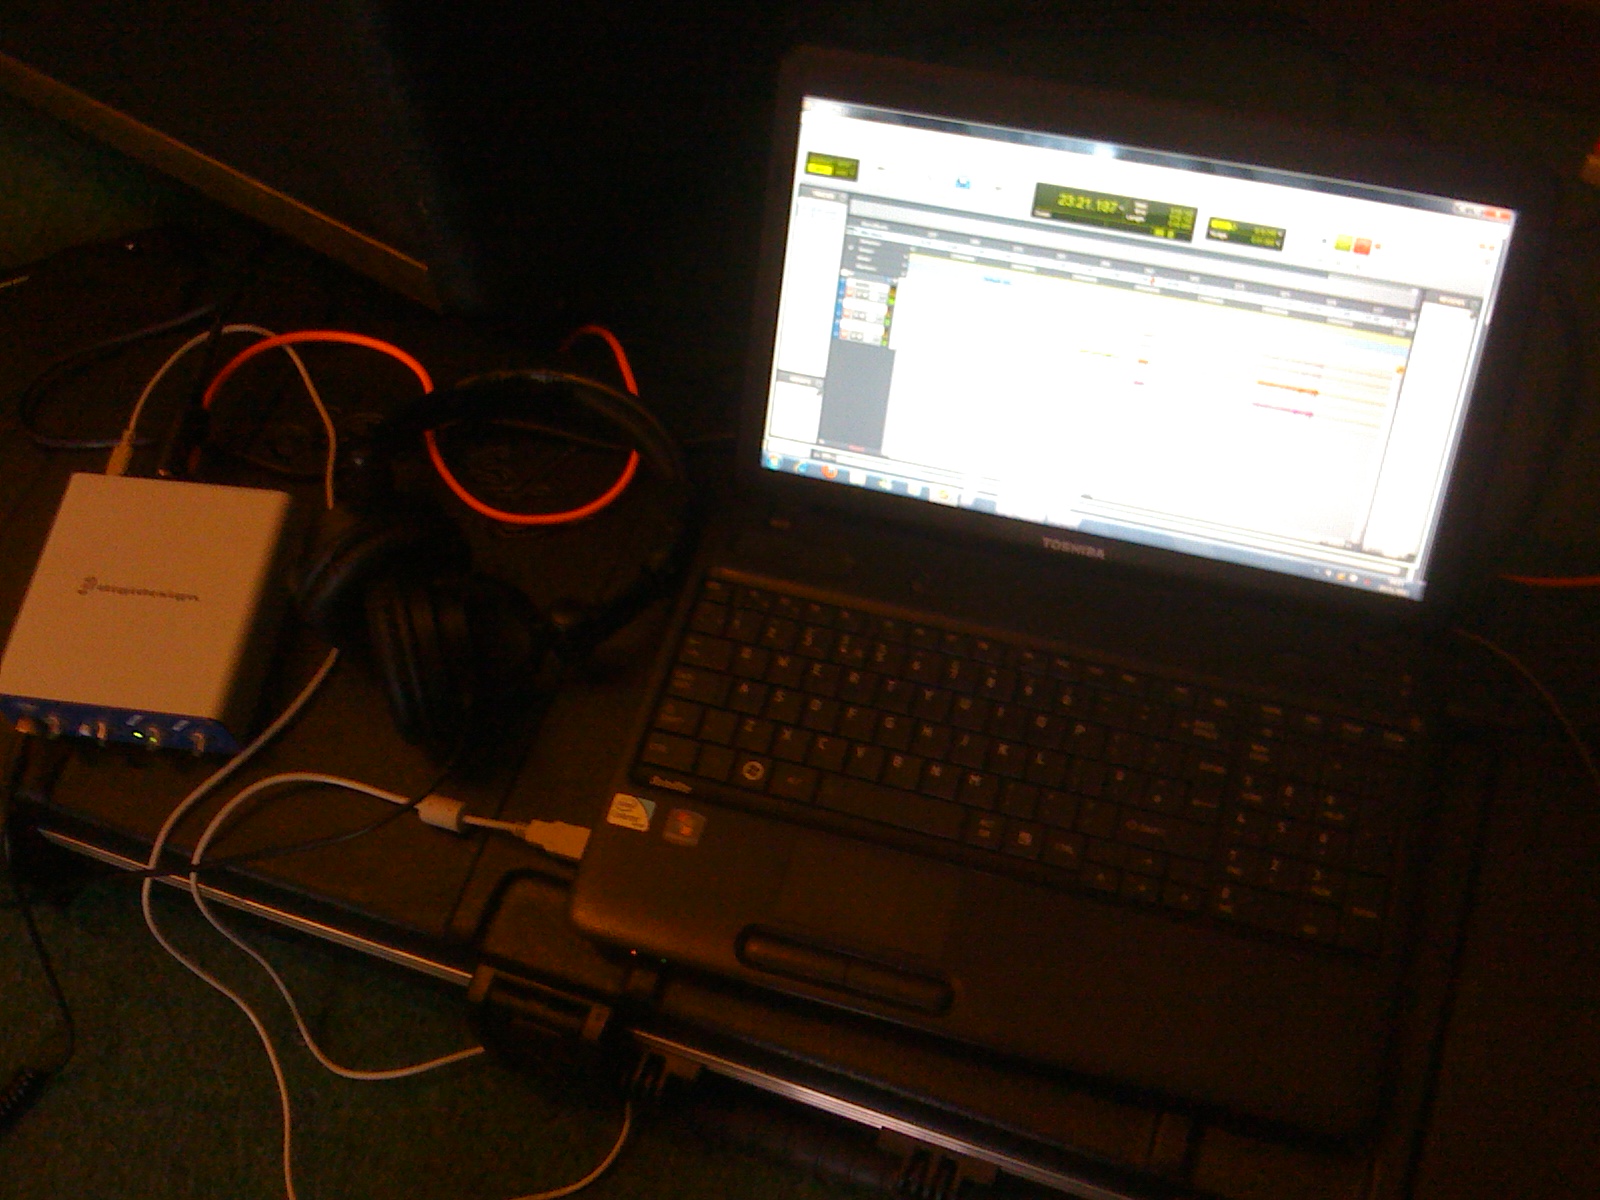
This image shows the fore-mentioned laptop.

The intention is to bring these 2 separate sessions together on laptop in order to mix them together and produce simple mixes in order to submit as part of post production, in order to justify many of the decisions I will be making in my floor plan, equipment list and microphone set-ups.

Tuesday, 22 November 2011

Pre Production - Planning Recording

Today I went and spoke the manager and owner of D.M. Studios, Tristan, (Dundee Music Studios) about carrying out the recording of my project in his studio in early February (due to availability of band).

He said this is entirely possible, however it will cost me around £100 for 6 hours or £150 for 10 (which I had previously suspected) and I may have to allow the in house sound engineer, Harris, to carry out the recordings. Even in this eventuality, I know from previous experience with Harris that I will still be allowed to place microphones and generally manage the session, leaving Harris to arm tracks and hit record.

Tristan has said if I go in on Thursday I will be able to photograph both the live room and studio space, allowing me to post them on this blog, as well as permitting me to create a detailed floor plan and planning out my microphone set up.

Sunday, 20 November 2011

Exhibition Presentation

This week I have been working on my contribution to my group presentation, and have created a mock up diagram, showing how I intend to lay out my exhibition space and explaining what everything is and why it's there.


The aim is to capture peoples attention with the interesting images of the poster with the EP artwork and the captioned photos. They will then be able to read all the necessary information from the walls of the exhibition, prior to listening to my recording, meaning they will understand the purpose of the recording before listening to them, and allowing them to inform themselves prior to asking any follow up questions.
I also intend to make more detailed literature available, should anyone wish for more information about my project.

Examples of live studio situations

Whilst this is clearly not an actual recording situation, and instead is a dramatic interpretation of a live studio situation. However, it provides and excellent visual representation of the type of thing I intend to do.

This photograph show the band "Carnivores" recording a live session for BBC Radio 1. It can clearly be seen that an effort has been made to ensure all members of the band can maintain eye contact during the session, whilst the sound is isolated to some extent by the panelling. Due the practical restraints placed upon me by space, cost and availability of such materials, it is unlikely that I will be able to carry out this type of isolation. However, I will make and effort to insure the band is still able to interact during the recording session.

Saturday, 12 November 2011

Steve Albini

As I mentioned in a previous blog, I have been looking into a famous analogue sound engineer named Steve Albini.


http://inmyroom.org/writing/albini.html
Here are notes from a lecture from Steve Albini to sound students of the Middle Tennesee State University, March 12, 2004. In this he discusses how recording has changed since the 70's, and explains why he still uses analogue systems rather than conventional methods. He also briefly discusses his process of recording bands and mentions the higher profile recordings he has worked on.


As the title suggest, in this video Steve Albini discusses his recording process, although does not actually discuss the specifics of his recording techniques, as they vary from band to band.

This is a video of Steve Albini doing an interview for Leed Metropolitan University, in which he discusses the music business as a whole, and gives his opinions on how studios should work and how student make themselves valuable to studios on leaving higher education.

Refined Project Map